

GoToMeeting is an online business meeting software by which you can share your screen, have a web-chat, can have multiple audiences and do many more things. Let me quickly give you a walk-through on how to use it. Write GoToMeeting in google and go to GoToMeeting website.
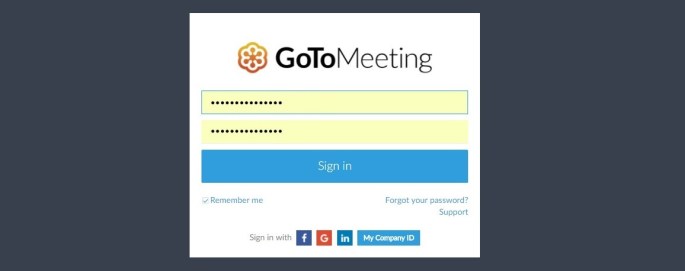
Once you go to the site, find “Sign In” button which is situated in the upper right corner.

Once you click the Sign In button, it will take you to the login in page.
Once you sign in, you will find a dashboard, which looks like the image below:

Installation:
In order to start your meeting, you have to install the GoToMeeting plugin. This is a onetime activity.
- Once you click stat your meeting, the software will automatically get downloaded in your machine.
- Once downloaded, double click on the software and install it.
- It will install automatically. Note, that it will take some time to install the software, so don’t click it again and again.
- Once the installation is done, you can check your Task Bar, an icon of GoToMeeting will appear.
![]()
How to Set Meetings in GoToMeeting:
There are two ways in which you can set a meeting.
- You can start a meeting instantly
- You can schedule a meeting
Start your meeting in an instant:
In the image below, you can see there is a button “Start your meeting”. To start your meeting in an instant click “Start you meeting”.
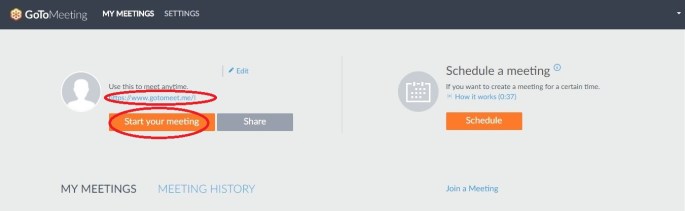
Remember that you have share the link of the meeting with your client first.
To share the link with your client(s), you can either share the link directly or can use the GoToMeeting link sharing template. All you have to do is to click the “Share” button.

Simply Copy and paste it in the mail body.
Once you click the button, a GoToMeeting popup will come.
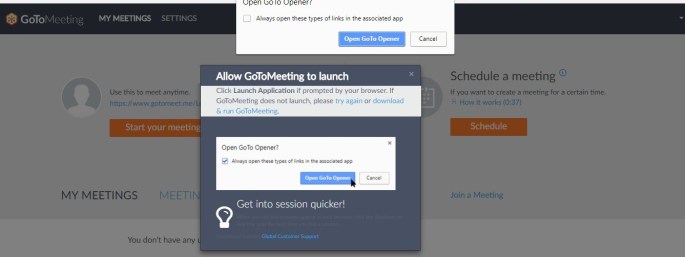
You can opt for ‘Always open these types of links in the associated app’. It will enable you to start your meeting with just a click and it will make sure that the popup will not appear every time you Start a meeting.
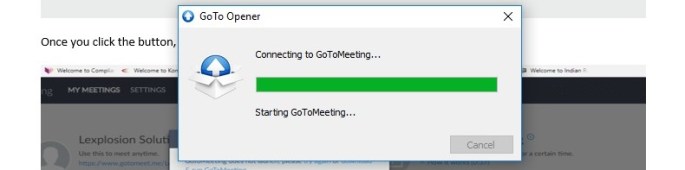
GoToMeeting will initialize, so don’t panic.
Once it starts, GoToMeeting tool will appear:

Functions available in GoToMeeting:
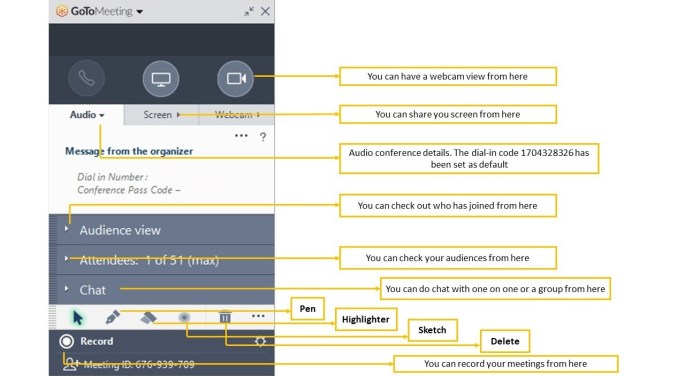
Screen Sharing:
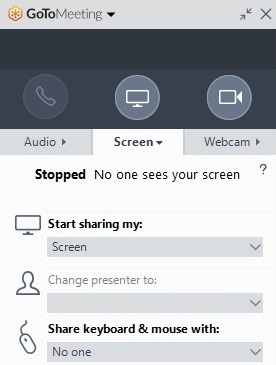
If you want, you can either share your entire desktop or select a particular screen, (be it be a ppt or a particular website, you can share just one screen) that you want to display.
If you have an issue with the current view, you can keep the GoToMeeting in a compact view. The compact view looks like this:

In the compact view, you will have screen sharing option, webcam view, Audiences, chat and pencil for highlighting.
After completing your meeting, you have to end the meeting. You can end the meeting from the tool:

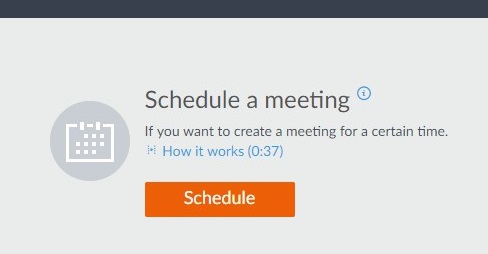
Schedule a Meeting
To schedule a meeting just click in the “Schedule” button.
In the schedule meeting, fill up the required fields like; the name of your meeting, frequency, date, time, duration, audio details, etc.
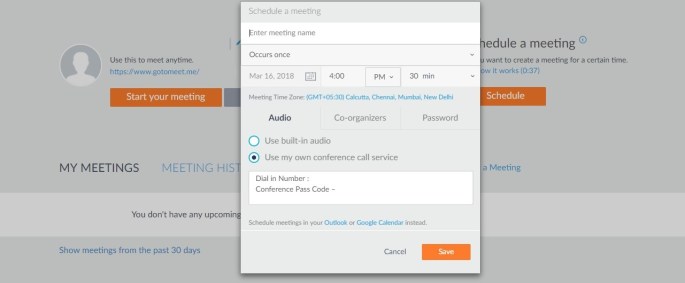
Once set, a popup will appear with the details of your meeting. You can share the link with your client(s) or simply click Copy and paste it in the mail body.
After you complete your meeting/s you can “logout”.
